
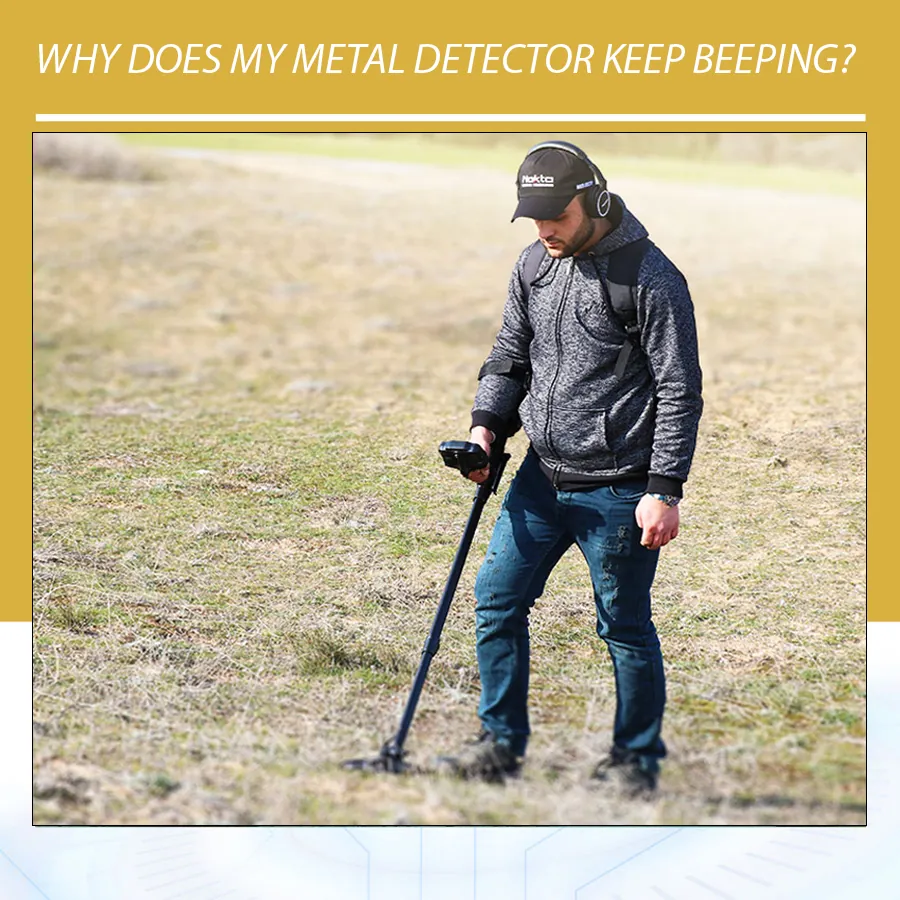
Why Does My Metal Detector Keep Beeping? Causes and Fixes
If your metal detector keeps beeping, start by identifying the sound before changing settings. Random chatter can involve electrical interference, ground conditions, excessive sensitivity or the coil setup. Repeated responses may also come from actual metal you have not located. A steady background hum or an equipment warning needs a different check.
The most useful starting point is an open outdoor area, your detector’s normal search mode and a record of its current settings. Change one thing at a time so you can see what makes a difference.
This guide covers handheld metal detectors with a search coil, used for coins, jewellery, relics and gold prospecting. It explains how to investigate unexpected sounds, choose appropriate adjustments and decide when to ask for support. If the sound comes from a separate handheld pinpointer, check that device’s instructions too.
First, work out what sound you are hearing
“Constant beeping” can describe several quite different experiences. Listen for whether the sound is continuous, irregular, associated with one place or accompanied by a warning on the screen.
| Sound or display | What it may mean | First check |
|---|---|---|
| A steady background hum | An intentional threshold tone | Check the audio settings for your current mode. |
| A response over a particular spot | A target or a localized ground response | Compare controlled passes and note what the display shows. |
| Unpredictable chatter across an area | Settings, interference, ground or equipment setup | Begin the check sequence below. |
| A repeating alarm or error indication | A warning requiring a specific response | Look up the indication in your model’s manual. |
A steady hum is different from erratic chatter
Some detectors use a threshold: a continuous background sound that helps the operator interpret changes in the audio. Its purpose and adjustment depend on the detector and search mode. Manufacturer instructions describe this separately from unwanted noise; see this Garrett manual’s threshold guidance.
Before trying to remove a hum, check whether you deliberately selected an audio mode that includes one. Write down the current setting before adjusting it. This gives you a way back if the new sound is less useful.
Think about the question you are trying to answer: “Is this sound expected in this mode?” comes before “Which setting makes it quiet?” Otherwise, you may change an intentional feature without investigating the sound that concerned you.
Read the screen when an alarm sounds
An alarm is not necessarily a target signal. For example, the GPX 6000 manual describes coil overload from very large metal objects close to the coil, alongside separate coil and system errors.
When a warning appears, note its exact symbol or message. Use that information to find the correct instruction. “A flashing coil symbol beside a repeating alarm” gives a support adviser more to work with than “It sounds strange.” Do not assume another model uses the same tone or icon for the same condition.
A practical sequence to calm an unstable detector
Use the following as an organized set of checks. Your own manual determines the operating procedure for each control.
1. Record the starting point
Note the search mode, sensitivity and any recent changes. Include a newly fitted coil or accessory. If several controls have been altered, compare them with the manufacturer’s recommended starting setup before making further adjustments.
A photograph of the settings screen can be useful. Keep your description short enough to update easily: “Park mode, sensitivity unchanged, noise began after moving beside the building” is a workable record.
2. Choose a sensible test location
Move outdoors into an open area away from obvious electrical equipment and large metal structures. Put digging tools and accessories well away from the coil. Ground that looks empty can still contain buried metal, so try another patch if the first produces confusing responses.
Choose a place where you can stand comfortably and repeat the same short sweep. The aim is to make comparisons manageable, rather than judge the detector while walking across changing conditions.
3. Compare a steady coil with a smooth sweep
In normal detecting mode, listen with the coil held steady, then make a controlled sweep. Note whether the noise changes. Manufacturer guidance uses movement-related sounds to help investigate ground response, but treat the observation as a clue. Pinpoint and other non-motion modes can behave differently. See Minelab’s explanation of ground noise.
Record what you hear without immediately naming the cause: “Quiet while steady; several short sounds during the sweep” is more useful than an unconfirmed diagnosis.
4. Choose one supported adjustment
Check the sections below to decide whether to investigate interference, ground response or sensitivity. Follow your model’s instructions, make one change and repeat the observation. Avoid cycling through several settings together, because you will lose track of which change mattered.
If an adjustment makes things worse, return to your recorded starting point where appropriate. A clear comparison is more valuable than an increasingly complicated collection of changes.
Give each comparison a clear question before you begin. For example: “Does the sound remain when the accessory is moved away?” Write the answer before adjusting sensitivity or changing the search mode. If you cannot repeat the original symptom, record that too; do not manufacture a conclusion from a single quiet pass. Your notes can simply say “Not reproduced during this check.” That is more accurate, and more helpful later, than declaring the problem permanently solved.
5. Check the external assembly
Power off before checking connections and cable routing. Look for visible damage and follow the cleaning instructions for any removable coil cover. Leave sealed housings closed.
6. Check a known target
At stable settings, use a known, recoverable surface target to check the response. Keep it separate from other objects and observe the sound during consistent passes. Pick it up afterwards.
This checks how the detector responds to that example under those conditions. It does not measure maximum depth or prove that every component is fault-free.
An illustrative comparison: suppose you first notice noise beside a workshop. Your next entry could record what happens in an open area with the same settings. Only after that comparison would you try an available noise adjustment. Whether the sound improves or remains unchanged, you have learned something you can use for the next decision.
When the surroundings are causing the noise
Indoor tests and electrical interference
Metal detectors can receive electromagnetic interference, often shortened to EMI, from surrounding electrical sources. Building materials can also contain metal. A detector sounding repeatedly in a room therefore does not establish that it is faulty. Minelab’s detecting guidance identifies electrical equipment, power infrastructure and other detectors as possible noise sources, and advises against indoor operation for the model covered.
For a practical comparison, keep your search setup consistent while changing location. Note whether the noise is associated with one part of a site or follows you elsewhere. Do not set a universal distance from buildings or other detectorists: equipment and circumstances vary.
If your machine provides Noise Cancel or frequency adjustment, follow its procedure. A supported frequency shift can help with surrounding interference; the Nokta frequency-shift instructions explain this use. Names and controls vary between models.
Improvement after moving is helpful evidence. Describe it accurately: “The noise reduced at the second location.” That observation is useful without claiming you have identified a specific electrical source or ruled out every other issue.
Check what you are carrying
Consider what moves near the search coil during your normal swing. A digging tool, accessory or metal in footwear may be involved. Nokta’s operating precautions specifically address carried metal and shoes.
Make a simple inventory before changing detector settings: tools, finds pouch, phone, pinpointer and other nearby equipment. Move items away individually and observe the result. This avoids blaming a favourite suspect without checking it.
A pinpointer deserves particular attention. Switching it off is not always sufficient to remove its interaction with a detector. Minelab’s explanation of pinpointer interference reduction describes technology designed to reduce interference when a pinpointer is switched off. Move the accessory away from the search coil as part of your comparison.
You do not need to buy an accessory to carry out this check. First establish whether its presence or position changes the sound. If it does, record the detector and accessory models before asking for compatibility advice.
Choose the right adjustment for the problem
Sensitivity balances stability and faint responses
Sensitivity should suit the conditions. Manufacturer guidance associates higher sensitivity with response to small or deep targets, while recommending lower settings when instability cannot be resolved through appropriate adjustments. Reducing sensitivity can also reduce responses you wanted to hear. The Garrett sensitivity guidance describes that tradeoff.
Use the setting as a controlled adjustment. Record its starting value, change it gradually as your manual directs and listen again over the same test area. Then compare the response to your known target.
For your notes, separate two questions: “Has the unwanted sound changed?” and “Can I still hear my test target clearly?” They answer different parts of the problem. A quiet detector alone is an incomplete result if you have not checked the response you intended to retain.
Avoid copying a number from someone using a different detector, coil or location. Even a familiar-looking sensitivity scale is not a shared measurement between machines. Use recommendations for your equipment and observe its response where you are searching.
Ground balance and Noise Cancel do different jobs
Noise Cancel addresses electrical interference; ground balance adjusts for the ground’s response. A detector may provide manual adjustment, an automatic procedure, tracking or no user ground-balance control. Minelab’s ground-balance guidance explains that the appropriate method depends on the model and recommends balancing away from metal objects.
That distinction matters when choosing the next action. If you have only been running a noise adjustment, check whether the remaining sound relates to ground movement. If you have only been ground balancing, consider whether the surroundings warrant an interference check.
Look up the actual control names in your manual. “Automatic” may describe a procedure you initiate or a function operating during use; do not infer the steps from the label alone. Find the manufacturer’s instructions for the selected mode and coil.
For prospecting background, read our guide to setting ground balance on gold detectors. Keep the instructions supplied with your own model at hand for the operational steps.
After an adjustment, return to the same observation you made earlier. Did the sound associated with the sweep change? Does it return on a different patch? These notes keep your investigation focused and help you explain what remains unresolved.
Wet salt sand needs suitable settings
Wet salt conditions can challenge detector operation. Some models provide beach or salt settings designed for this environment, with different responses and tradeoffs. Manufacturer salt-mode guidance illustrates why a mode suitable elsewhere may not be the best choice at the wet shoreline.
Before testing new settings, identify the location accurately: dry sand, wet sand or a submerged coil. Check the operating recommendations for that situation. Waterproof construction and suitable settings for conductive salt are separate questions; confirm both in your model’s documentation.
Make the comparison within one set of conditions. Changing the mode while moving between dry and wet sand makes the result harder to interpret. Record both the mode and where the coil was operating.
The same disciplined approach applies inland. Describe the actual conditions without assuming every noisy patch has the same cause. Choose supported adjustments, then observe the result before adding another change.
Discrimination also needs a separate purpose: deciding which target responses to accept or reject. Do not treat it as a general replacement for checking interference, ground response and assembly. First establish what kind of sound you are investigating.
Check the coil, cable and power indications
Inspect the external setup with power off
Use your assembly instructions to check the coil connector and cable routing. Look for a cable that has become loose, a connection that appears incorrectly seated or visible damage. Do not force a connector or tighten parts beyond the manufacturer’s directions.
If a removable coil cover is fitted, consult the care instructions before taking it off. Dirt or grit beneath a cover is worth checking during unexplained-noise troubleshooting. For background on coil construction and selection, see our guide to understanding metal detector search coils.
Check the sweep itself too. Abrupt impacts can create unwanted responses; keep the coil controlled and avoid banging it against the ground or obstacles. A beep during contact is a reason to investigate the movement and setup, not enough evidence to order a replacement coil.
Make any inspection findings specific. “Cable jacket visibly split beside the connector” and “No visible damage found” are both useful entries. Avoid repeatedly bending or stressing a suspect part to provoke a response. If you find damage, seek advice about the appropriate next step.
Cleaning also depends on the equipment. Follow its water-resistance and care instructions; do not assume a waterproof coil means the control box or every connection can be immersed.
Read the battery indication instead of guessing
Check for a low-power warning, unexpected shutdown or charging problem. Use the approved battery type or charging method specified for your detector.
Do not automatically attribute every false signal to a weak battery. Battery behaviour differs between models. Record the indication you actually see and whether it changes after the prescribed power check.
If several things changed together—for example, you charged the detector, refitted the coil and moved outdoors—describe all three. You may have restored usable operation, but that comparison does not tell you which action was responsible.
Sometimes the detector is responding to a real target
“I dug and found nothing” does not establish that the original signal was false. Targets may be difficult to locate, and their responses can be affected by orientation, depth or neighbouring objects. Iron can produce confusing signals too.
Treat an uncertain response as an observation to investigate. Compare controlled passes from different directions, keeping your movement consistent. Note whether the response stays in one place and what changes on the display. A repeatable response does not prove that the object is valuable; a broken response does not prove that the ground is empty.
Avoid turning target ID into a definitive identification. It is information for making a search decision, alongside the sound and conditions. Learn how your own detector describes accepted, rejected and uncertain responses. Our guide to how metal detector discrimination works explains the wider concept.
This also helps separate a target question from an equipment question. “I get an awkward signal at one location” calls for a different investigation from “The machine produces irregular sounds wherever I test it.” Neither description tells the whole story, but each points your attention in a useful direction.
If you are practising, write down the response before identifying your known test object. Compare the observation with what you already know about it. Use the exercise to learn your machine’s language without turning one example into a rule for every buried target.
How the controls differ on three detector models
These examples show why troubleshooting instructions must match the detector. They are available as listings on the Orient Detectors website; the comparison focuses on relevant controls.
| Model | Relevant controls or checks | Keep in mind |
|---|---|---|
| Minelab Manticore | Noise Cancel, Ground Balance and sensitivity adjustment | Follow its own guide for the selected setup. |
| Minelab GPX 6000 | Noise Cancel and Quick-Trak ground balance | Certain noise-handling options depend on the compatible coil fitted. |
| Garrett ACE 400i | Frequency adjustment, sensitivity and external coil checks | Do not apply another detector’s user ground-balance procedure. |
The Manticore getting-started guide identifies its relevant controls. Have the guide beside you while locating them, rather than searching the menu based on instructions written for a different machine.
For the GPX 6000, the manufacturer’s manual explains Noise Cancel, Quick-Trak and the Double-D coil modes for EMI or conductive ground. Check the fitted coil before following those options. Coil-dependent instructions should remain attached to that setup.
The Garrett ACE 400i owner’s manual, available through this mirror, includes frequency and sensitivity adjustments among the erratic-sound checks. Its battery guidance also says performance is maintained until battery replacement is needed. That is a useful reminder to check your model before assuming declining battery indication always means reduced detection performance.
When seeking help, give the full model name and coil details. Two owners can both describe “constant beeping” while needing different procedures. A short description of your configuration helps an adviser choose the relevant instructions.
When to contact your dealer or service centre
Seek model-specific help when an error persists, visible damage is present or the detector remains unstable after the recommended checks in suitable locations. Persistent noise warrants assessment; it does not identify a particular failed component by itself.
Before contacting support, prepare a short record:
- Equipment: detector model, fitted coil and accessories.
- Setup: search mode, relevant settings and recent changes.
- Sound: hum, irregular chatter, localized response or alarm.
- Display: exact error message, icon or battery indication.
- Conditions: where it happens and what changes with location or movement.
- History: any relevant impact, water exposure or recent assembly change.
- Checks: each action tried and the observed result.
For example, “Still noisy at two outdoor locations after the manual’s noise adjustment; no error shown” is an actionable description. Add a short recording if requested, showing the display and the movement associated with the sound.
If considering a factory reset, check what your manual says it changes and preserve any settings you want to restore. A reset is a settings procedure, not a promise to repair hardware.
Keep sealed housings closed and follow manufacturer service directions. You can contact Orient Detectors with your model and symptoms for help identifying the appropriate next step. Provide your observations before deciding whether a coil, accessory or detector needs replacement.
Frequently asked questions
Why does my metal detector beep when I cannot find any metal?
An unsuccessful search does not confirm that no target exists. The response may involve difficult-to-locate metal, ground conditions or unwanted noise. First determine whether it stays at one spot or occurs across the area. Record that difference and use the corresponding checks above, without assuming the sound proves a particular metal or fault.
Why does my metal detector keep beeping indoors?
Buildings can contain substantial metal and electrical noise sources. Move to a suitable open outdoor area and compare operation with the same setup. Keep nearby tools and accessories out of the test. The comparison helps establish whether the room is contributing; indoor behaviour alone is not a reliable basis for diagnosing a broken detector.
Can sensitivity that is too high cause constant beeping?
It can contribute to unstable operation. Follow your model’s recommended noise and ground adjustments, then lower sensitivity gradually if appropriate. Compare both the unwanted sound and a known target response. There is no universal number to copy, and a lower setting can also reduce response to small or deep targets.
Why is my detector noisy on wet beach sand?
Conductive salt conditions may require a supported beach or salt setup. Check your model’s instructions and distinguish testing on dry sand, wet sand and underwater. Record the conditions with the settings you try. Also confirm the permitted water exposure for the complete detector; a waterproof coil does not establish that the control box is submersible.
Can a phone, another detector or a pinpointer cause interference?
Nearby electrical equipment and detectors can contribute to noise. Compare operation after moving your phone or accessories away, rather than assuming one item is responsible. For a pinpointer, check both its power state and position: moving it away from the main coil is useful even when it has been switched off.
Is a constant background hum normal?
It can be an intentional threshold tone. Check the audio description for your selected mode before trying to remove it. Note whether you hear a steady background sound or an irregular alarm accompanied by a display indication. Those observations help you find the correct manual section and avoid changing the wrong control.
Why does my detector beep when the coil touches the ground?
Consider ground response, the impact itself and the external setup. Try a smooth sweep without contact, then inspect the powered-off coil assembly according to its instructions. Record whether contact is necessary to reproduce the sound. That observation is useful for support, but it does not prove that the coil is defective.
What if my detector still beeps after basic troubleshooting?
Use your model’s error and service guidance. Send your dealer the model, coil, settings, symptoms and checks already tried, including whether the problem occurs at different suitable locations. Avoid repeated unrelated setting changes once you have a clear record. Persistent trouble is a reason for assessment, not an automatic instruction to replace equipment.
Restore useful signals one check at a time
Start by identifying the sound and observing when it happens. Then choose the relevant check: surroundings, supported settings, external assembly, power indication or target investigation. Record each change so the next decision follows something you actually observed.
The aim is usable, understandable operation. Follow the instructions for your detector and seek help when the remaining symptoms require model-specific assessment. A clear description of the problem is valuable whether the answer turns out to be a setting, a difficult location or equipment that needs attention.