What should you achieve on your first day?
Choose a few observable goals rather than a target number of finds. Can you keep the coil level throughout a swing? Can you hear the same coin from two directions? Can you explain whether a change came from the target, your settings or your movement? Being able to answer these questions is a better foundation than memorizing a supposedly perfect target number.
Expect to encounter ordinary rubbish when you start searching beyond your practice targets. A pull tab is not evidence that the detector failed. It is evidence that a real object produced a response. The useful question is whether you can compare that response with the recovered item and make a more informed decision next time.
| First-day skill | Simple exercise | A useful result |
|---|---|---|
| Assembly | Check shaft locks, coil bolt and cable | Nothing slips or pulls during a normal swing |
| Stable setup | Sweep a comparatively clear patch | Background behaviour is manageable |
| Target recognition | Pass over separated known items | Responses repeat at the same location |
| Coverage | Search a small marked rectangle | Passes overlap without large gaps |
| Pinpointing | Cross the target from two directions | Both passes identify a similar centre |
| Recovery | Recheck the hole and removed soil | You can account for the original response |
Prepare at home before going outside
Read the manual sections on assembly, charging, search modes, interference control, ground balance and environmental protection. You do not need to memorize every advanced setting. You do need to know how to return to a familiar search mode, where the sensitivity control is and how your detector indicates a low battery or coil problem.
Charge using the correct equipment and check that all accessories fit your exact model. A headphone connector that looks right is not necessarily compatible. Likewise, a waterproof search coil does not automatically make the control box submersible. Keep the manual available on your phone, preferably downloaded so that a poor connection does not interrupt your first lesson.
Pack a light kit: detector, suitable headphones, gloves, a small finds pouch, permitted recovery tools, a cloth for loose soil and a few clearly identified practice objects. A handheld pinpointer can help with recovery, but you can learn the basics without one. Bring water and suitable clothing so that discomfort does not shorten your concentration.
Choose an easy training location
For your first session, a flat, accessible area with relatively little metal clutter is more useful than a famous but difficult detecting site. Obtain permission and check the rules for searching and digging at that location. Avoid choosing a site where historical protection, buried services or unsafe ground would complicate a simple practice session.
Stay away from parked vehicles, wire fences and metal furniture. Indoors, reinforcement in concrete, wiring and household electronics can confuse a demonstration. If an apparently empty patch produces many responses, move rather than spending the entire lesson trying to interpret it. Your first task is to establish an understandable reference.
A surface exercise is enough to begin. Lay your practice objects down separately where they cannot be lost, test them and collect every item afterwards. When you progress to a shallow test garden, mark the positions accurately and keep an empty control area. A freshly buried object is a training reference, not a reproduction of every naturally buried target.
Adjust the detector to your body
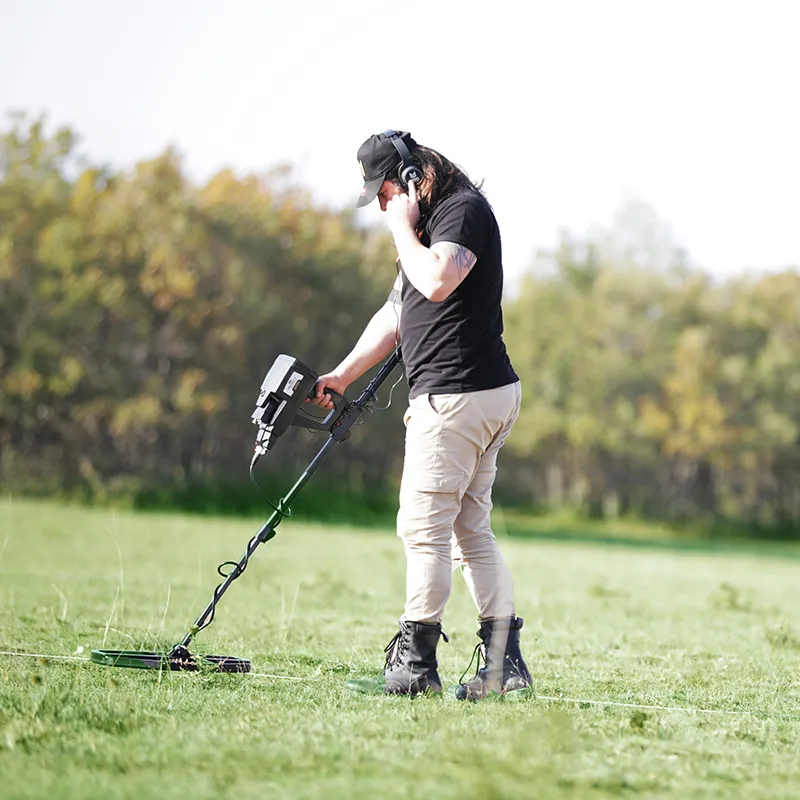
Set the shaft so that the coil rests near your normal search position without forcing you to lean forward. Your elbow should remain relaxed and your hand should not need to grip hard to stop the detector twisting. An overextended shaft can feel manageable for five minutes and uncomfortable after an hour.
Secure the coil using the manufacturer’s hardware and instructions. Do not compensate for missing washers by overtightening the bolt. Route the cable with enough freedom for normal coil movement but without a loose section swinging across the coil. Check that the connector is seated correctly; switch off before reconnecting equipment when required by the manual.
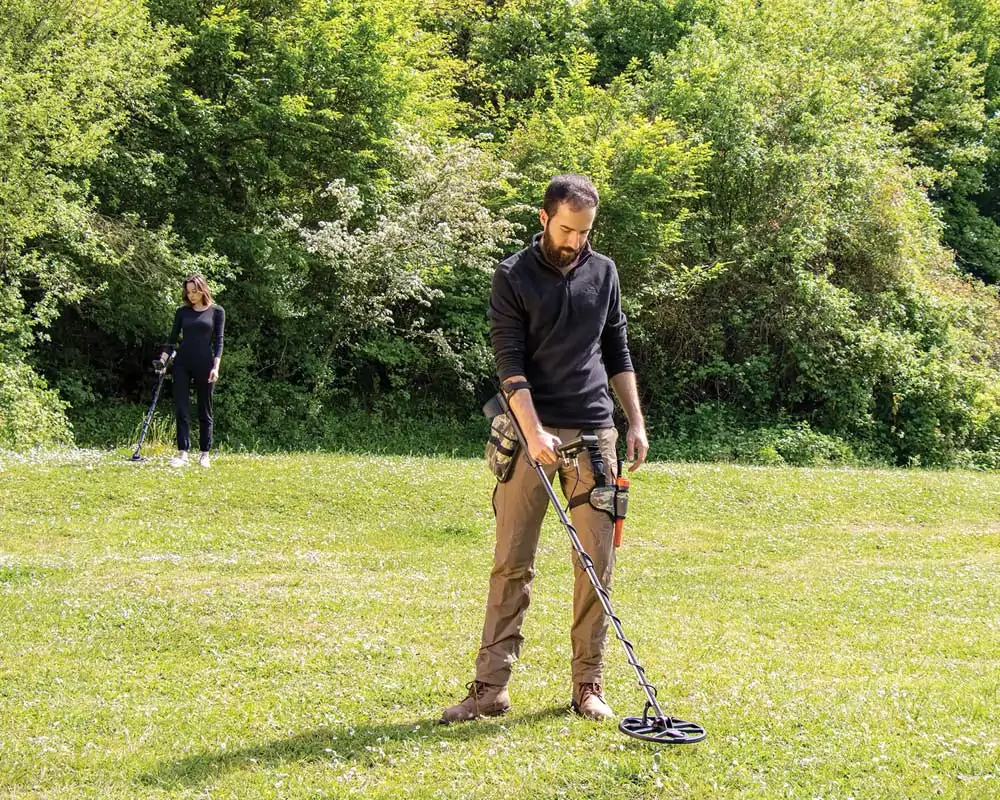
Practise several swings before switching on. The coil should remain approximately parallel to the ground at the middle and ends of the movement. Move your body along the search line instead of reaching farther with your arm. Good posture improves both comfort and coverage because you are less likely to lift the coil or rush when tired.
Metal detecting for beginners: a reliable startup sequence
Start with the manufacturer’s recommended general search preset for your ground and target. A coin-search lesson and a goldfield lesson may require different modes. Avoid importing a complex online settings recipe before you understand its purpose; the person who shared it may be searching different ground with another coil or software version.
Use the detector’s interference-control procedure if it provides one, then complete ground balancing as the model requires. Some detectors handle parts of this automatically; others require deliberate user input. Noise cancellation addresses electrical interference, while ground balance addresses soil response. They are related to stability but are not interchangeable controls.
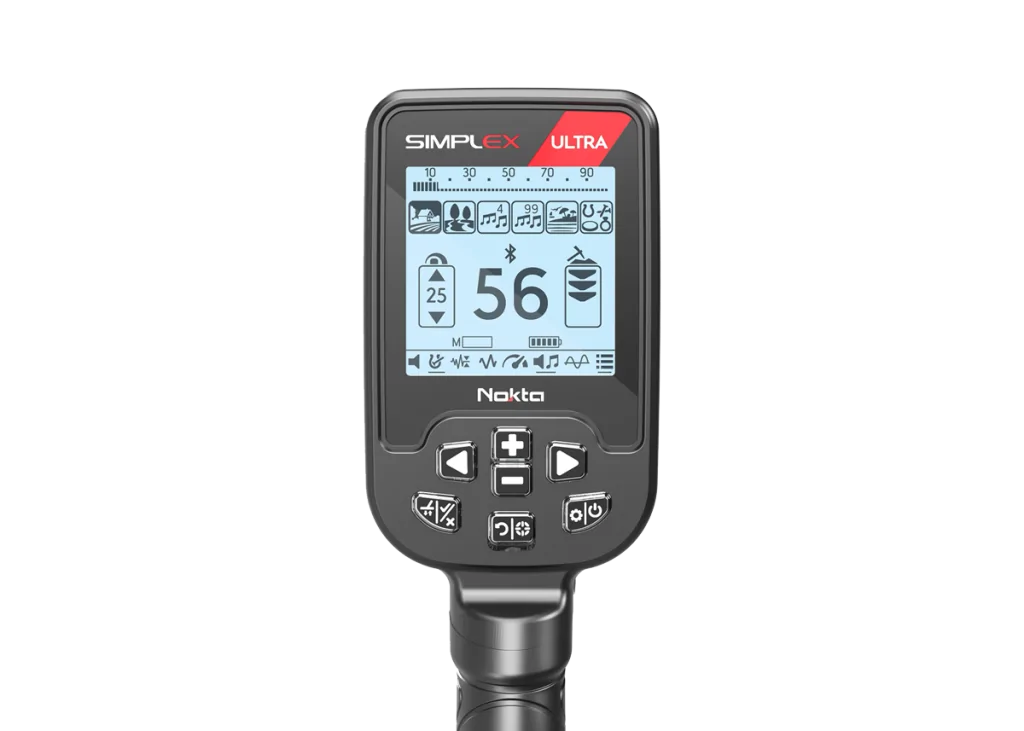
Set a comfortable listening volume and a sensitivity level that allows meaningful comparisons. A maximum number is not a requirement for learning. If background chatter hides your practice target, reduce sensitivity and repeat the same sweep. Read our ground balance guide and sensitivity explanation when you want more detail about those adjustments.
| Control or procedure | What you are trying to achieve | Beginner mistake to avoid |
|---|---|---|
| Search mode | A sensible starting profile for the task | Choosing by an impressive name alone |
| Noise cancellation | Reduce electrical interference | Expecting it to replace ground balance |
| Ground balance | Manage the local ground response | Calibrating directly over known metal |
| Sensitivity | Hear targets with a usable background | Assuming maximum is always best |
| Volume | Comfortable, audible responses | Confusing loudness with detection depth |
| Discrimination | Select which responses to hear | Rejecting too much before learning targets |
Learn with known objects before searching blindly
Use a coin, an iron nail and an aluminium pull tab or another familiar piece of non-ferrous rubbish. Space them far enough apart that each produces an isolated response. Keep them visible initially. Sweep each item at the same height and pace, then turn and repeat from a second direction. Note both what you hear and what the display does.
Change the orientation of one item and try again. An object lying flat may respond differently from the same object standing on edge. This simple exercise explains why a target-number chart cannot identify every buried object. The detector is measuring a response affected by geometry and distance, not reading a label attached to the metal.
Keep the test honest by including an empty patch. Ask a companion to select either an object location or the empty area without telling you which. Make your prediction before looking. Several short trials reveal how much of your confidence comes from seeing the object rather than recognizing its response.
Do not turn an air test into a depth claim. Passing an object in front of a raised coil can demonstrate that the system responds and help you learn sound patterns. Ground testing adds soil response, orientation, nearby material and recovery difficulty. Record exactly which type of exercise you performed.
Keep the coil low, level and overlapping
Follow the manual’s search-height guidance and keep that height consistent. Avoid scraping or striking the ground. When the coil rises at the end of a swing, the detector loses the same opportunity to respond to a small or weak target that it had near the middle. The result is uneven coverage even when your walking lines look tidy.
Use an unhurried pace that lets you notice individual responses. There is no single correct sweep speed for every detector and search mode. Your known-object exercise provides a useful reference: if you can hear the object clearly at one pace but lose it when rushing, choose the controlled pace while learning.
Overlap adjacent passes and advance by a manageable step. A large coil is not permission to leave gaps, because response varies across its detection area and with target depth. For practice, mark a narrow rectangle and search it in strips. Then turn ninety degrees and cover it again, paying attention to objects that were less obvious from the first direction.
Locate the target before you dig
When a signal repeats, shorten your sweep around it. Identify where the response is most consistent, then cross that position from another direction. The intersection gives a starting estimate of the target’s centre. If your detector has a pinpoint function, use it according to the manual after establishing the general location.
A broad response does not necessarily mean a large valuable object. It might reflect a shallow object, several nearby items or the coil’s response pattern. Similarly, a small response is not proof of a small target. Note the size of the responding area as an observation and refine it before recovery.
Do not keep waving rapidly while staring at the display. Stop, mark the estimated position with a non-metallic reference and approach it again. This separates your locating step from the excitement of deciding what the object might be. Accurate location reduces unnecessary disturbance and makes the recovery lesson easier to follow.
Recover the object without losing the signal
Where recovery is permitted, remove a modest amount of material from the identified area and place it on a cloth or controlled patch. Recheck both the hole and the removed material. This tells you where to work next; repeatedly enlarging the hole without checking the spoil is a common reason beginners lose time.
If the response moves into loose soil, divide that soil into smaller portions and scan each one. Keep your recovery tool, jewellery and other metal away from the coil. A handheld pinpointer can narrow the search, but its response and sensitivity differ from those of the main detector. A tiny target may still need careful separation.
After recovery, sweep the hole and spoil again. More than one object may have contributed to the original response. Compare what you found with your prediction, remove your own test objects and restore the ground appropriately. The learning happens in that comparison: what sounded coin-like, what changed after excavation and what the recovered object actually was.
Examples from Orient Detectors
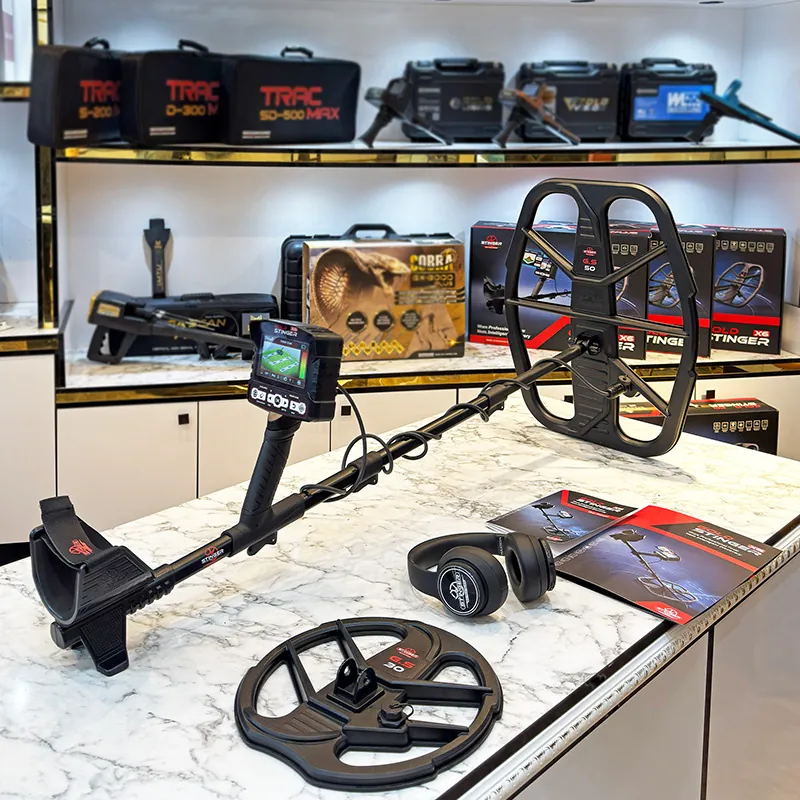
The Gold Stinger X6 offers several search systems. For a first lesson, concentrate on assembly, the required ground setup and one search workflow rather than switching between every screen. Its manufacturer lists GS30 and GS50 coils; learn one installed coil before comparing another. See the official X6 information for model-specific details.
The Minelab MANTICORE provides extra target information through its 2D ID display. Start with the sound and repeatability of known objects, then observe the display alongside them. Minelab describes the map in terms of conductive and ferrous characteristics; it is not a photograph of a buried item. The official 2D ID explanation is useful further reading.
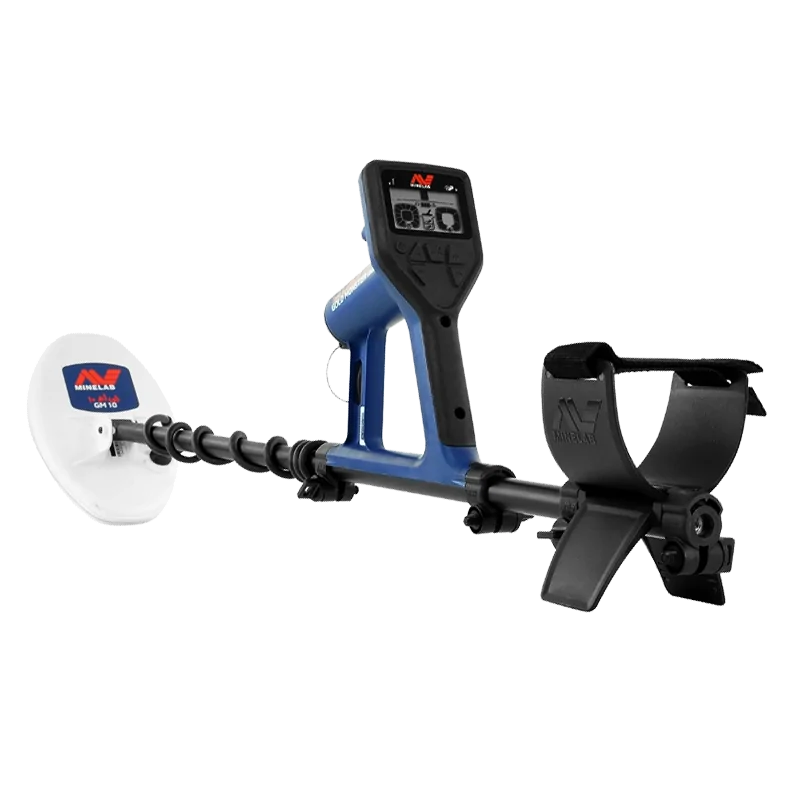
The Gold Monster 1000 illustrates a different learning task: natural-gold prospecting. Minelab specifies a 45 kHz operating frequency. Its training exercise should use a secured, representative small gold sample if nugget prospecting is your objective, rather than assuming a strong response to a large coin proves sensitivity to tiny gold. Consult the manufacturer’s specifications for the exact model.
| Search objective | First useful exercise | Information to prioritize |
|---|---|---|
| Coins in accessible soil | Separated coin, nail and pull tab | Repeatable location and sound differences |
| Lost jewellery | A similar object tested in several orientations | Broad acceptance and systematic coverage |
| Small natural gold | Secured gold sample plus an empty control | Weak-signal recognition and recovery |
| Learning an advanced display | Known targets with recorded settings | Relationship between audio and visual response |
A two-hour first-session plan
Allow enough time to repeat exercises without trying to finish every menu lesson. The following timetable is a suggested structure, not a manufacturer requirement. Shorten it if fatigue changes your swing or the ground becomes unsuitable. It is better to stop with a clear understanding of three skills than to finish exhausted and unsure what caused each response.
| Time | Activity | What to record |
|---|---|---|
| First 15 minutes | Assemble, adjust and inspect | Coil, battery condition and comfort |
| Next 15 minutes | Establish a stable startup setup | Mode and important settings |
| Next 25 minutes | Test separated known objects | Responses from two directions |
| Next 20 minutes | Practise overlapping coverage | Missed strips or lifted swing ends |
| Next 25 minutes | Locate and recover permitted targets | Prediction, actual item and recovery time |
| Final 20 minutes | Recheck, clean and review | One success and one next-session goal |
Solve common first-day problems methodically
Change one thing at a time. If you reduce sensitivity, change the mode and move sites simultaneously, you will not know which action helped. First check assembly and cable movement, then electrical interference and ground conditions, then settings. This order prevents a mechanical problem from turning into an endless menu experiment.
| Symptom | First check | Useful follow-up |
|---|---|---|
| Random chatter with coil still | Nearby electronics and connections | Move away and use the model’s interference procedure |
| Response at each swing end | Coil lift, cable and nearby footwear | Repeat a level, shorter swing |
| Known target is unexpectedly quiet | Discrimination and coil path | Restore a familiar preset and repeat |
| Signal disappears after digging | Removed soil and changed target orientation | Scan hole and spoil separately |
| Every object seems valuable | Interpretation rather than equipment | Compare predictions with recovered rubbish |
| Arm quickly becomes tired | Shaft length and grip | Shorten reach and take a break |
Keep a learning record that you will actually use
Write a short entry for a few targets rather than documenting every movement. Include the model, coil, mode, ground condition, response from two directions and recovered object. Add the setting only when it helped explain a difference. Over time, these notes become your own practical reference for familiar sites.
Separate observations from interpretations. “A short response repeated in the same place” is an observation. “It must be a silver coin” is an interpretation. If the object turns out to be aluminium, the observation may still have been accurate. This distinction helps you improve your decisions without assuming the machine or your hearing failed.
At home, clean and dry equipment according to its manual, inspect the cable and store the detector safely. Check your finds pouch for the practice objects you brought. Choose one next-session improvement, such as steadier height or more accurate recovery. Metal detecting for beginners becomes easier when each outing answers a specific question.
Two practice situations worth repeating
Imagine that your first coin sounds clear in one direction but becomes faint when you turn. Before changing a setting, check whether the coil passes over exactly the same point and at the same height. Then change the coin’s orientation deliberately. You may discover that the difference follows the object, your path or both. This is a useful lesson because naturally buried targets rarely sit in the perfect position used in a demonstration.
Now imagine that a response occurs every time your swing reaches your right foot. Move the practice object away, repeat over the empty control and shorten the swing. Check nearby metal on your clothing and whether the cable moves at that point. If the response follows your movement rather than the marked target position, you have a reason to investigate technique or equipment before digging.
Neither exercise requires a valuable target. Both teach you to test an explanation instead of accepting the first one that comes to mind. Ask a companion to watch the coil while you listen; it is often easier for someone else to notice height changes than for the person holding the detector.
At the end, explain the result in plain language: what you changed, what stayed the same and whether the response repeated. That short explanation is a practical check of understanding. If you cannot describe the difference, repeat the exercise with fewer variables. A good first day leaves you with a method you can use independently on your next outing.
Frequently asked questions
Do I need an expensive detector to learn?
No. You need a suitable working detector, its instructions and access to appropriate practice ground. An advanced device can provide useful features, but assembly, coverage, signal confirmation and recovery remain essential with every model.
Should sensitivity be at maximum?
Use a level that lets you hear repeatable targets against a manageable background. If additional sensitivity mainly adds chatter, lower it and repeat your known-target exercise before assuming that a louder setup is better.
Can I learn entirely indoors?
Indoor checks can help you find controls, but metal structures and electronics can distort detection exercises. Outdoor practice on suitable ground teaches the soil and movement effects that a living-room demonstration cannot reproduce.
Does one target number mean gold?
No. Different objects can produce overlapping values, and the same object can change with orientation, depth or surrounding material. Use identification information to guide investigation, not as a metal-purity test.
Should a beginner reject all iron?
Begin by listening to known iron and non-ferrous objects so you understand the difference. Filtering can make a busy site easier to search, but excessive rejection may obscure mixed or weak responses worth investigating.
How fast should I swing the coil?
Follow the model and mode guidance, then practise at a pace that preserves your known target’s response. Keep the coil level and avoid rushing. A controlled repeatable pass is more useful than an arbitrary speed figure.
Is a handheld pinpointer essential?
It is helpful but not essential for the first lesson. You can locate targets with cross-sweeps and divide loose soil into smaller portions. A pinpointer becomes valuable when it reduces recovery time for your actual targets.
What if my first finds are only rubbish?
Use them as feedback. Compare their responses with your predictions and check whether your coverage and location are improving. A first outing can be successful training even when none of the recovered objects has monetary value.
Resources and further reading
- Orient Detectors: ground balance explained — understand the soil reference used during startup.
- Orient Detectors: sensitivity explained — find a usable balance between responsiveness and stability.
- Minelab: MANTICORE 2D ID guide — manufacturer guidance on the display.
- Minelab: Gold Monster 1000 specifications — check model-specific controls and limitations.
- Stinger Detectors: Gold Stinger X6 — official product and accessory information.