
What Ground Balance Does on the Gold Stinger X6
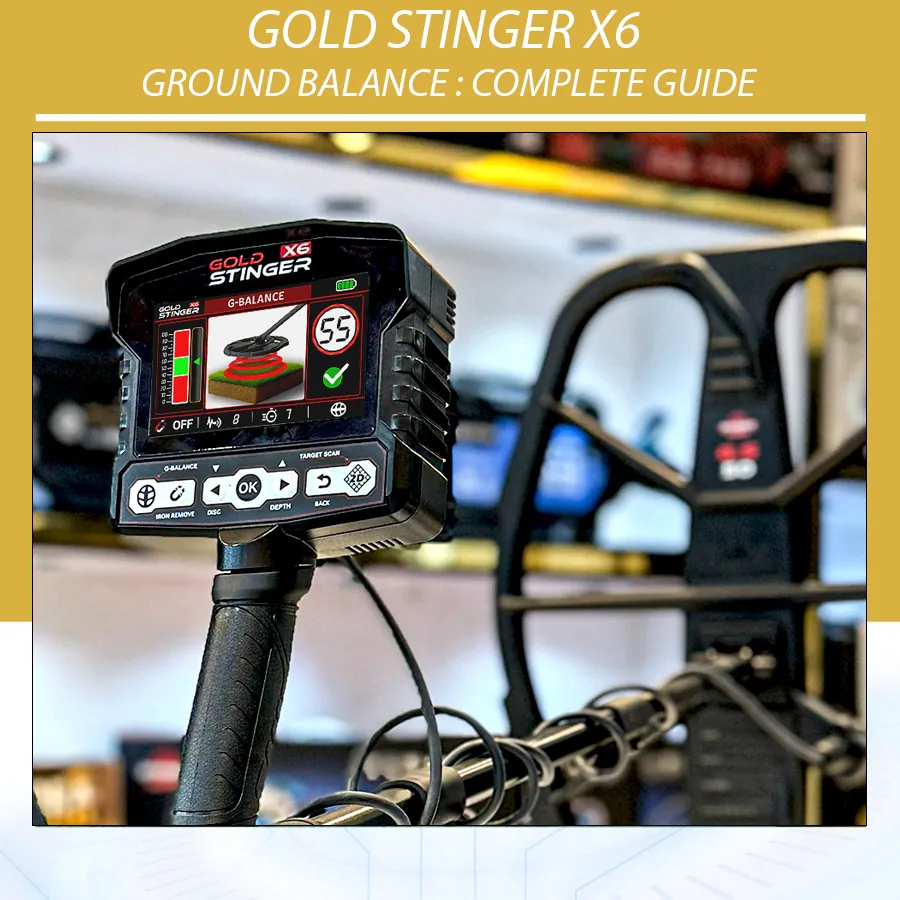
The Gold Stinger X6 manual presents Ground Balance at startup and provides a dedicated control. The detector uses the calibration to establish how the coil responds to the soil at that point. This can reduce ground-related instability and give later systems a better starting reference. It does not remove every difficult condition, identify gold automatically or guarantee a depth result.
Think of it as setting a baseline before asking the detector to compare new responses. If the baseline is taken over a piece of metal, highly variable soil or a source of electrical noise, the comparison can be unreliable. That is why a careful calibration is more valuable than quickly pressing through the first screen.
| It can help with | It cannot confirm |
|---|---|
| Reducing soil-related chatter and improving repeatability | That a response is gold, a valuable item or a cavity |
| Giving Sensitivity and Turbo a more stable starting point | A guaranteed maximum depth |
| Making a change in ground condition easier to notice | That every false response will disappear |
| Supporting better comparisons between sweeps | Permission to search or recover an item |
Before You Calibrate
Assemble the detector first and make sure the coil is recognized. The supplied GS30 and GS50 coils serve different search situations, but either one must be connected securely and its cable routed correctly before calibration. The manual advises performing the process outdoors and away from areas with high mineral content or interference where possible. In practice, avoid obvious scrap, fences, vehicles, reinforced concrete, overhead electrical equipment and the place where you left tools or keys.
- Use a coil that is firmly attached and shown as connected in the status bar.
- Lay the cable along the shaft so it cannot move and create a false intermittent response.
- Find a patch that sounds comparatively quiet when swept slowly from two directions.
- Keep the coil level and use the same controlled height instructed by the screen.
- Start with moderate stable Sensitivity and Turbo rather than maximum values.
Gold Stinger X6 Ground Balance Steps
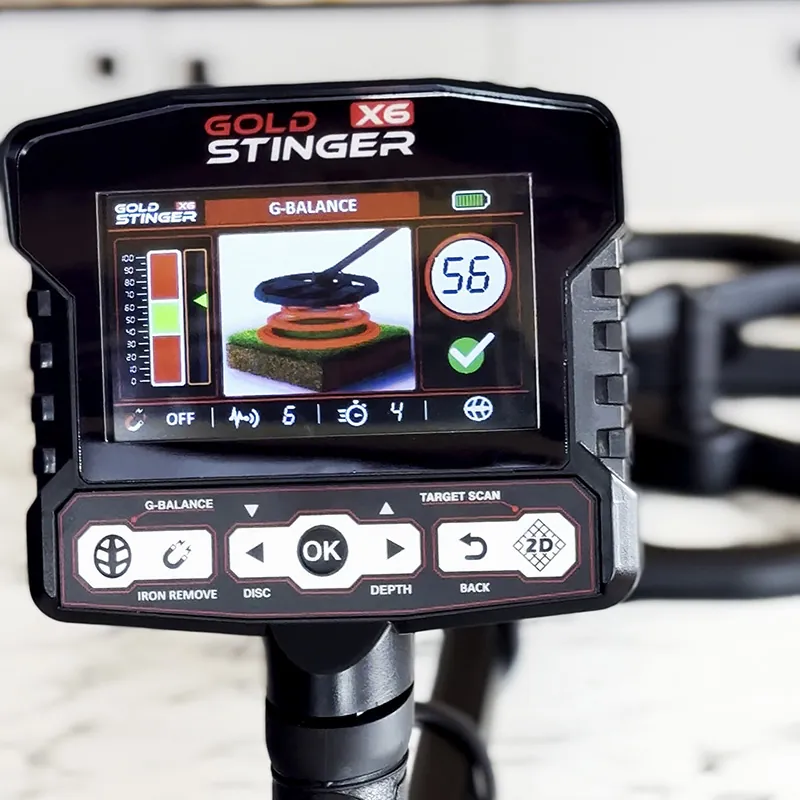
The manual describes a guided procedure in which the user starts Ground Balance, works with the coil near the ground and follows the display. It specifies a calibration distance of about 5–10 cm from the ground. Use the on-screen instructions as the authority for the particular software version on your detector.
- Power on and wait for the startup sequence. Do not interpret a signal until the coil connection and interface are ready.
- Open or remain on Ground Balance. It appears during startup; the dedicated Ground Balance control can be used when recalibration is needed.
- Choose clean soil. Sweep a small area first. If you receive a clear repeatable response, move to another patch.
- Hold the coil level. Do not tilt the coil edge into the ground; a tilted coil changes the geometry of the test.
- Follow the displayed movement. Keep the motion deliberate and close to the indicated 5–10 cm working distance.
- Wait for the result. A green OK indicates that the procedure was accepted. A Not OK result means repeat it after addressing the likely cause.
- Begin with a stability check. Make several slow, overlapping sweeps over nearby clean ground before changing settings.
OK and Not OK: What to Do Next
| Result or symptom | Likely explanation | Useful next step |
|---|---|---|
| Green OK and quiet sweep | Calibration was accepted in that location | Search, then rebalance when conditions change |
| Not OK immediately | Metal, difficult mineralization, interference or incorrect movement | Move several metres, inspect coil/cable and repeat |
| OK but noise continues | Site may be variable or settings may be high | Lower Sensitivity or Turbo, then test again |
| Different result after changing coil | Coil coverage and response differ | Confirm connectivity and balance again with that coil |
| Stable in one spot, unstable later | Soil, moisture or interference changed | Stop and perform a fresh balance in clean ground |
When to Repeat Calibration
Ground Balance is not a one-time ceremony for an entire day. Repeat it after a coil change, when moving from one soil type to another, after a marked increase in background instability, or after adjusting a setup that has become difficult to control. Rain, moisture, filled ground, slopes and areas with different mineral content can all alter the search environment. Repeating the procedure is faster than chasing noise through many menu changes.
A useful field habit is to stop after a transition—such as leaving dry open soil for a damp low area—and make a controlled comparison. If the background response differs materially, find a clean patch and recalibrate. Record the coil and conditions in a notebook. Those notes are more reliable than copying a setting number from a different location.
GS30 and GS50: Balance After Every Coil Change
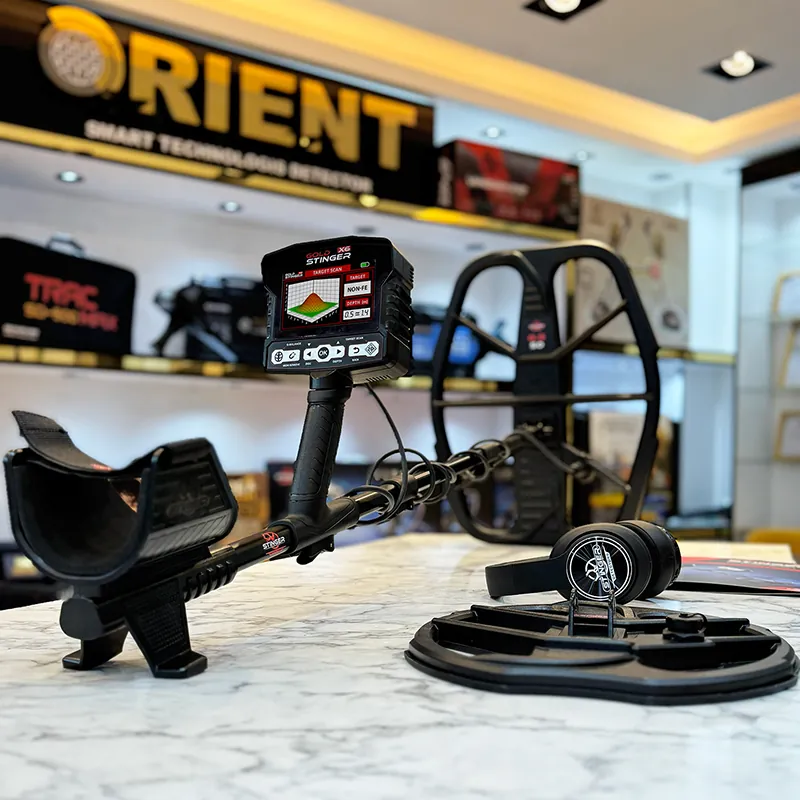
The GS30 is the smaller coil supplied for improved maneuverability and sensitivity to small targets in tighter or more cluttered areas. The GS50 is the larger coil supplied for wider coverage and deeper-target searching in open ground. Neither coil creates a universal best setting. Because their coverage and response characteristics differ, complete Gold Stinger X6 ground balance again after changing coils.
| Situation | Useful choice | Calibration reminder |
|---|---|---|
| Open area with room for long sweeps | GS50 may suit wider coverage | Keep it level; do not mistake broad ground changes for a target |
| Tight ground or target-dense area | GS30 may be easier to maneuver | Choose a clean small patch before starting |
| Changing from GS50 to GS30 | Reconnect and verify coil status | Run a complete new calibration |
| Changing from GS30 to GS50 | Secure cable without strain | Run a complete new calibration |
Sensitivity, Turbo and Ground Conditions
Sensitivity and Turbo are adjustable from 0 to 100 in the manual. Higher values can make weak changes more noticeable, but they can also emphasize mineralization, interference and cable movement. Ground Balance should come first. Then increase one setting gradually only while the detector remains stable enough to identify a repeatable response. If the background becomes busy, reducing a setting slightly is usually more informative than increasing another control.
Do not treat a noisy setup as evidence of extra depth. A faint response that repeats from more than one direction at a stable setting is usually more useful than a dramatic response that occurs only when the coil bumps, lifts or crosses a particular patch of mineralized soil.
A Controlled Field Test
Build skill on a lawful test plot. Place known items at known positions, leave clear spacing, and do not use the test to create claims about all locations. Balance first, record the result, sweep each location at a consistent height and compare responses from two directions. Then rebalance in a nearby patch with visibly different soil and repeat. The exercise shows why setting notes must include ground conditions; the same target can produce a different response when the context changes.
Common Ground Balance Mistakes
| Mistake | Why it matters | Better practice |
|---|---|---|
| Balancing over an unknown signal | The soil reference may include metal response | Find quieter soil first |
| Tilting or scraping the coil | Changes coil-to-ground relationship | Keep the coil level and controlled |
| Raising every setting after Not OK | Can add more instability | Move, reduce settings and repeat |
| Using indoor floors as a test site | Concrete may contain reinforcement | Calibrate outdoors in suitable soil |
| Ignoring a changed site | Old calibration may no longer match the ground | Rebalance after transitions |
Reading the Ground Before You Search
Take two minutes to read the site before deciding that a setting is wrong. Ground that looks similar can behave differently. A dry ridge, a damp depression, filled soil beside a building, a ploughed field and a mineral-stained patch can all produce different background behaviour. Walk slowly with the detector in a controlled configuration, listening for whether the background remains calm while the coil is level. If the sound or display changes across short distances with no repeatable centre, record the transition and recalibrate in the new area.
Nearby objects matter too. Steel footwear, tools, phones, vehicles, wire fences and reinforced concrete can introduce responses that resemble a ground problem. Keep personal items away from the coil during calibration. If a response persists, turn your body, move several metres and repeat the check. The goal is not perfectly silent ground; it is a stable enough baseline that a target-like response can be repeated deliberately.
Step-by-Step Not OK Recovery Workflow
- Do not repeat in the identical spot immediately. Move away from the suspected patch by several metres and make short test sweeps.
- Inspect the physical setup. Check coil cable routing, connector seating and coil security with the power off if reconnection is necessary.
- Lower instability before adding power. Reduce Sensitivity or Turbo if they were raised, then restart the calibration process.
- Keep the coil level. Use calm, consistent motion at the screen-directed height rather than fast pumping or scraping.
- Repeat on a second clean patch. If that succeeds, the first location may simply be difficult ground or contain metal.
- Escalate only for a persistent equipment issue. A continuing coil connection error, charging problem or visible damage should be addressed with seller or manufacturer support rather than menu changes.
Ground Balance and Search-System Decisions
Ground Balance comes before interpretation in every search system. In All Metals, it supports a more stable comparison of values and graph behaviour. In Discrimination, it reduces the chance that unstable ground is misread as a filtered target response. In Target Scan, it helps ensure the guided scan begins from a controlled setup. For Depth Detect and Pin Pointer, it does not convert an estimate into an exact measurement, but it helps the operator begin from a repeatable location and setting.
| System | Why ground balance matters | Responsible conclusion |
|---|---|---|
| All Metals | Supports calmer comparison of value and graph responses | A repeated indication still needs confirmation |
| Discrimination | Reduces unstable background before using categories | Categories can be affected by corrosion and soil |
| Pin Pointer | Helps begin from a stable search position | It narrows location; it does not identify material |
| Depth Detect | Supports a controlled starting response | Depth remains an estimate affected by target and soil |
| Target Scan | Helps compare guided passes consistently | Graph and depth indications require field verification |
Worked Examples: Responding to Real Site Changes
Example 1: Quiet field becomes noisy near a fence
Suppose the X6 balances successfully in an open area, then begins to chatter as you approach a wire fence or parked machinery. Do not assume the ground balance “failed.” Stop, move away from the likely source and test the background with the coil held still. If the noise reduces, the issue is probably local interference or nearby metal rather than a target. Return to an open clean patch, balance again if needed, and lower Sensitivity or Turbo until the response becomes controllable. Record the boundary rather than trying to search through it at maximum settings.
Example 2: Dry soil changes to damp soil
After rain or when moving into a low damp area, mineral response can change. A setting that was calm on dry soil may begin to produce uneven audio or shifting display values. Find a quiet spot in the new ground, repeat Gold Stinger X6 ground balance and make several level sweeps. If instability remains, reduce the operating settings a little. The aim is not to make the detector silent at any cost; it is to establish a repeatable background so that a new response has meaning.
Example 3: A target-like response appears during calibration
If the detector gives a clear response at one point while you are selecting calibration ground, do not balance directly over it. Mark the area mentally, move to quieter soil and complete the calibration. Then return to the marked position, sweep it from two directions and compare it with the surrounding ground. This preserves the response for investigation instead of potentially incorporating it into the soil reference.
Maintenance That Supports Reliable Calibration
Good Ground Balance begins with a sound physical setup. Keep the coil face clean, protect the cable from sharp bends and make sure the connector is dry and seated correctly. The manual advises using the supplied charger and charging the device periodically during storage. Protect the control box from excessive heat, water and impact. These care steps do not change the ground, but they reduce the chance that a loose cable, low battery condition or damaged connection is mistaken for a calibration issue.
Before a long search session, check the shaft locks and cable position. A cable that moves against the shaft during every sweep can create a pattern that looks like unstable soil. If you need to inspect or reconnect the coil, power the device off first. When there is a persistent physical or charging fault, use the Information screen details when contacting the seller or manufacturer support rather than repeatedly resetting the device.
Gold Stinger X6 Ground Balance FAQ
Do I need to ground balance every time I turn on the X6?
Yes. The startup workflow calls for it, and it gives the detector a soil reference for the current location.
What does green OK mean?
It means the displayed calibration procedure was accepted. It is not confirmation of target type or depth.
What should I do when the display says Not OK?
Move to cleaner ground, keep the coil level, lower unstable settings if needed and repeat the guided process.
Can I calibrate indoors?
It is best to follow the manual’s outdoor advice. Floors, wiring and reinforced concrete can interfere with the result.
Should I balance again after changing from GS30 to GS50?
Yes. Verify the new coil connection and run a fresh Ground Balance.
Does ground balance remove every false signal?
No. It helps establish a better reference, while interference, nearby metal and unstable settings can still create responses.
Should I increase Sensitivity when the result is Not OK?
No. First move and repeat with a stable setup; higher Sensitivity can increase noise.
How high should I hold the coil?
Follow the display and manual guidance, which describes working around 5–10 cm from the ground during calibration.
When should I rebalance during a search?
After changing coils, entering materially different soil, or noticing a persistent stability change.
Does a good balance prove a cavity reading?
No. It only supports a stable setup; investigate any interpretation through repeatable field checks.
Conclusion
Gold Stinger X6 ground balance is the foundation for a controlled search. Use clean ground, follow the screen, accept only a stable setup and repeat the calibration whenever the coil or conditions change. With that baseline in place, values, graphs and audio responses are easier to compare responsibly.
Resources
- Gold Stinger X6 product page
- Official Device Startup video
- Official Gold Stinger X6 Complete Guide
- Metal Detector Ground Balance Explained
- Gold Stinger X6 GS30 vs GS50 coils guide
- Gold Stinger X6 User Manual, English edition supplied with the device.